How to Integrate Klaviyo with PassNinja

Updated May 16, 2026
TL;DR: Install Klaviyo on PassNinja for wallet pass automation.
- 1. Install Klaviyo via OAuth from PassNinja Settings.
- 2. Configure which events sync to Klaviyo.
- 3. Create passes with customer emails and phone numbers.
- 4. Track Pass Installed, Pass Updated, and Pass Deleted events.
- 5. Build flows triggered by wallet pass engagement.
PassNinja's native Klaviyo integration brings four capabilities to your marketing stack: NFC-enabled Apple Wallet and Google Wallet passes that customers tap at checkout with no app required; dynamic pass updates that sync points balances, tier status, and expiration dates from Klaviyo in real time; install and delete event tracking so you can trigger welcome flows the moment someone adds a pass and win-back campaigns when they remove it; and scan event data that powers Klaviyo flows based on redemption frequency, last scan date, and location — keeping your wallet channel as measurable as email.
How to install Klaviyo on PassNinja
- Log in to your PassNinja dashboard at passninja.com/login.
- Navigate to Settings > Integrations.
- Click the Klaviyo card to open the integration page.
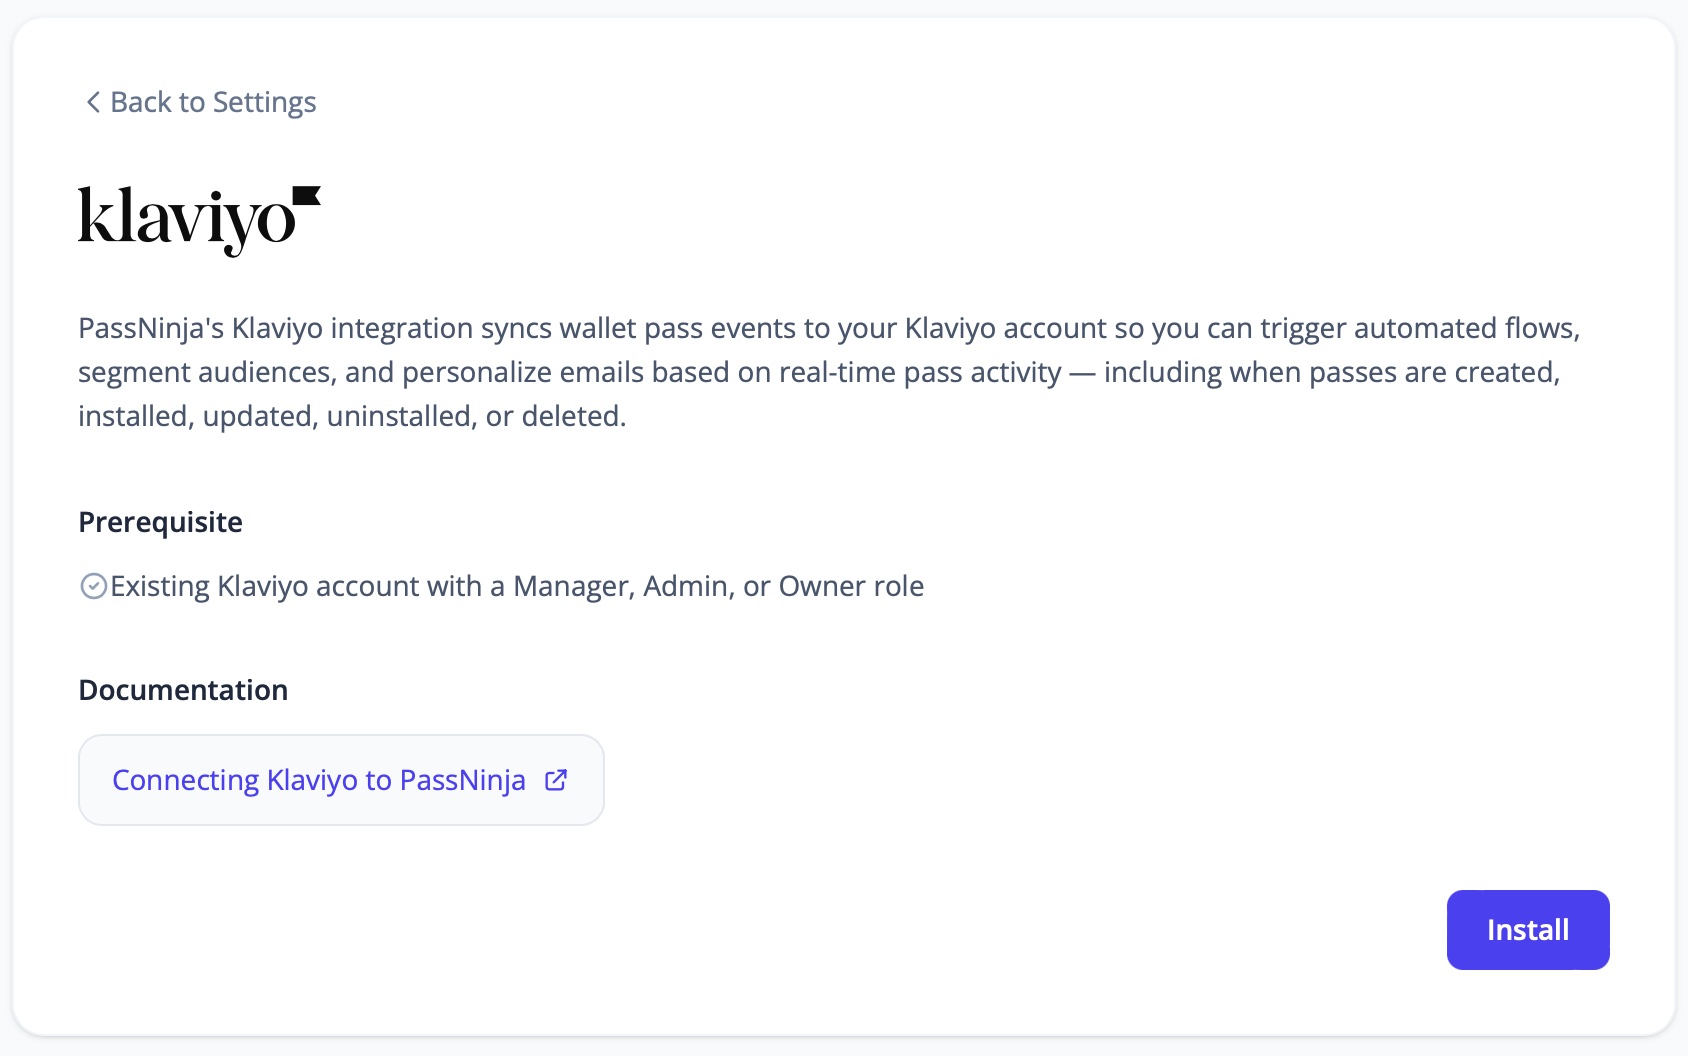
- Review the prerequisite and documentation, then click Install in the bottom right.
- You'll be redirected to Klaviyo to authorize the connection.
- Review the permissions PassNinja is requesting and click Allow.
- You'll be redirected back to PassNinja with the integration active.
Once installed, you'll see your Klaviyo account details in the Integrations section and can configure which events to sync.
How to view the PassNinja app in Klaviyo
After connecting, you can verify and manage your integration from within Klaviyo:
- In Klaviyo, click Integrations in the left sidebar.
- Click Apps or Installed Apps (depending on your Klaviyo version).
- Find PassNinja in your list of connected apps.
- Click on PassNinja to see:
- Connection status
- When the integration was installed
- Which scopes/permissions are granted
- Option to disconnect
You can also see PassNinja in the Settings > Account > API Keys section if you need to verify the OAuth connection status.
How to see analytics in Klaviyo
PassNinja syncs pass lifecycle events to Klaviyo as custom metrics. These events allow you to build segments, trigger flows, and analyze wallet engagement.
Events synced to Klaviyo
| Event Name | When It Fires | Useful For |
|---|---|---|
| Pass Created | A pass is issued to a customer via API or flow | Onboarding flows, issuance tracking |
| Pass Installed | Customer adds the pass to Apple or Google Wallet | Welcome flows, engagement tracking |
| Pass Updated | Pass is scanned, redeemed, or modified | Loyalty tracking, scan frequency |
| Pass Uninstalled | Customer removes the pass from their wallet | Re-engagement campaigns, win-back flows |
| Pass Deleted | Pass is permanently deleted from PassNinja | Cleanup or archival workflows |
Viewing metrics
- In Klaviyo, go to Analytics > Metrics.
- Search for "Pass" to find PassNinja events.
- Click on any metric to see:
- Total events over time
- Unique profiles
- Event properties (pass type, template name, etc.)
Building segments
Create segments based on pass engagement:
- Go to Audience > Lists & Segments.
- Click Create Segment.
- Use conditions like:
- "Pass Installed at least once" — profiles with active passes
- "Pass Deleted at least once AND Pass Installed zero times in last 30 days" — churned pass users
- "Pass Updated at least 5 times" — highly engaged customers
These segments can be used for targeted campaigns or as flow triggers.
How to create passes with email and phone numbers
PassNinja identifies customers in Klaviyo using their email address and/or phone number. When creating passes, include these identifiers to ensure events are attributed to the correct Klaviyo profile.
Using the PassNinja API
PassNinja provides a REST API to create and manage passes programmatically. When creating passes, include the customer's email and/or phone number so events are correctly attributed to the right Klaviyo profile.
- API Documentation — full reference for all endpoints, request formats, and authentication
- Tutorials — step-by-step guides for common integration patterns
- Blog — real-world use cases and implementation examples
How to build flows triggered by pass events
Once events are syncing, you can create flows that respond to wallet engagement:
Welcome flow for new pass installs
- Create a new flow with trigger Pass Installed.
- Add a time delay (optional) — e.g., 1 hour.
- Send an email or SMS thanking them for installing.
- Include tips on using their pass, like how to access it quickly or what to expect at check-in.
Win-back flow for deleted passes
- Create a flow triggered by Pass Deleted.
- Add a 24-hour delay to avoid immediate messaging.
- Send a message asking for feedback or offering an incentive to reinstall.
- Use a conditional split to check if they reinstalled (Pass Installed after Pass Deleted).
Engagement flow based on scans
- Trigger on Pass Updated with a filter for scan events.
- Send a thank-you message after their first scan.
- Use conditional splits to send different messages based on scan count (VIP treatment after 10 scans, etc.).
How to uninstall Klaviyo from PassNinja
If you need to disconnect Klaviyo from your PassNinja account:
- Log in to your PassNinja dashboard and go to Settings > Integrations.
- Click the Klaviyo card.
- Click Disconnect in the bottom right of the card.
- The integration is immediately revoked — PassNinja will stop syncing pass events to Klaviyo.
Disconnecting does not delete any events or profiles that were already synced to Klaviyo. If you reconnect later, event syncing will resume from that point forward.
Alternative: Install from the Klaviyo Marketplace
If you're discovering PassNinja through the Klaviyo Marketplace, you can also start the installation from there:
- Go to the Klaviyo Integrations Directory.
- Search for "PassNinja" and click Install.
- If you're not logged into PassNinja, you'll be redirected to create an account or log in.
- After authentication, you'll be redirected back to complete the OAuth flow.
- Click Allow to grant PassNinja access to your Klaviyo account.
- You'll land in your PassNinja dashboard with the integration active.
Conclusion
Integrating Klaviyo with PassNinja gives you full visibility into how customers engage with their wallet passes. By tracking installs, updates, and deletions as Klaviyo events, you can build sophisticated automation flows that respond to real-world wallet usage. Whether you're running a loyalty program, event ticketing, or promotional coupons, this integration ensures your marketing stays connected to the passes in your customers' pockets.