How to read NFC data from VTAP via iPad

Updated January 26, 2026 21:56
Overview
In this guide, we'll show you how to create an iPad app that is capable of reading NFC data from Apple passes using a VTAP 100, SwiftUI, and some glue code. By the end of it, you'll have an app that grabs NFC data, parses it and shows the most recent scan result.
This guide assumes you are building on a Mac with a recent version of Mac OS X.
Swift App
First thing's first, we'll need your machine set up to create and/or run an iPad app. Let's open up XCode. Go ahead and create an app targeting iOS and app:
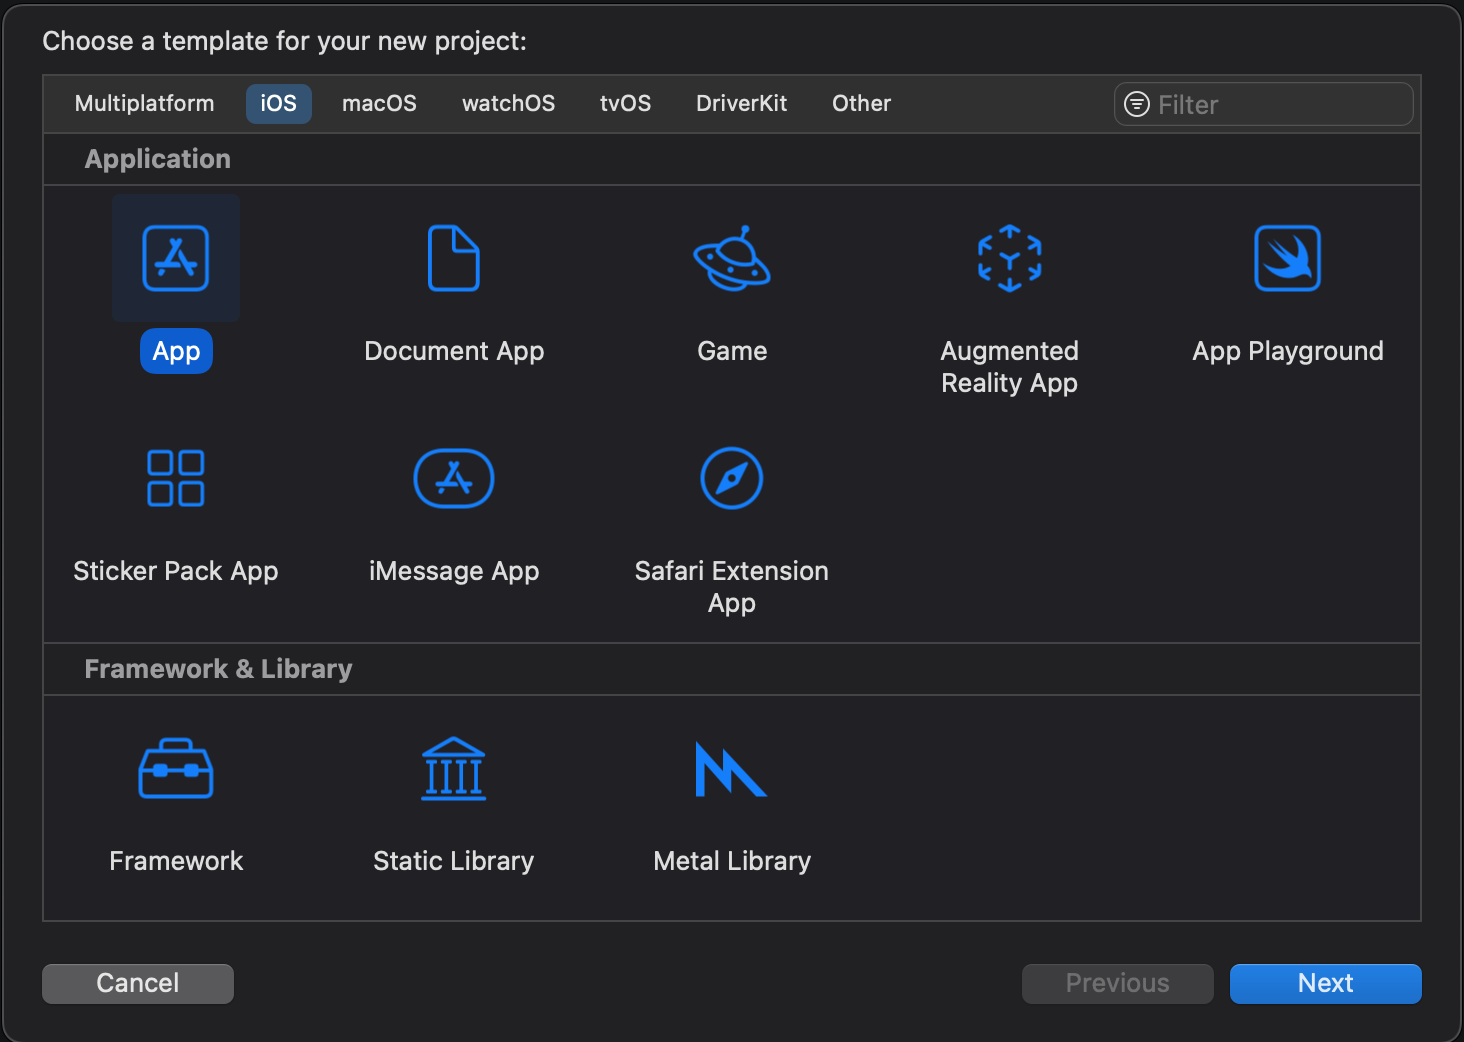
That's all we need for now. Keep the XCode app running in the background, we'll come back to it shortly.
VTAP configuration
Next you'll need to make sure you have a working VTAP reader. If you are not sure how to configure you're reader, you can use this guide. However, if you bought your reader from PassNinja, it's already configured with the keys from your account.
Make sure your VTAP 100 is connected to your iPad. You may need an adapter.
Creating a Pass
Next go ahead and create a pass. In our case, we're using PassNinja to create the pass, so we first need a pass template. We'll be using a pass template we've already created for demo purposes. Make sure you have NFC fields required via API to prevent devs from creating passes without the NFC data!
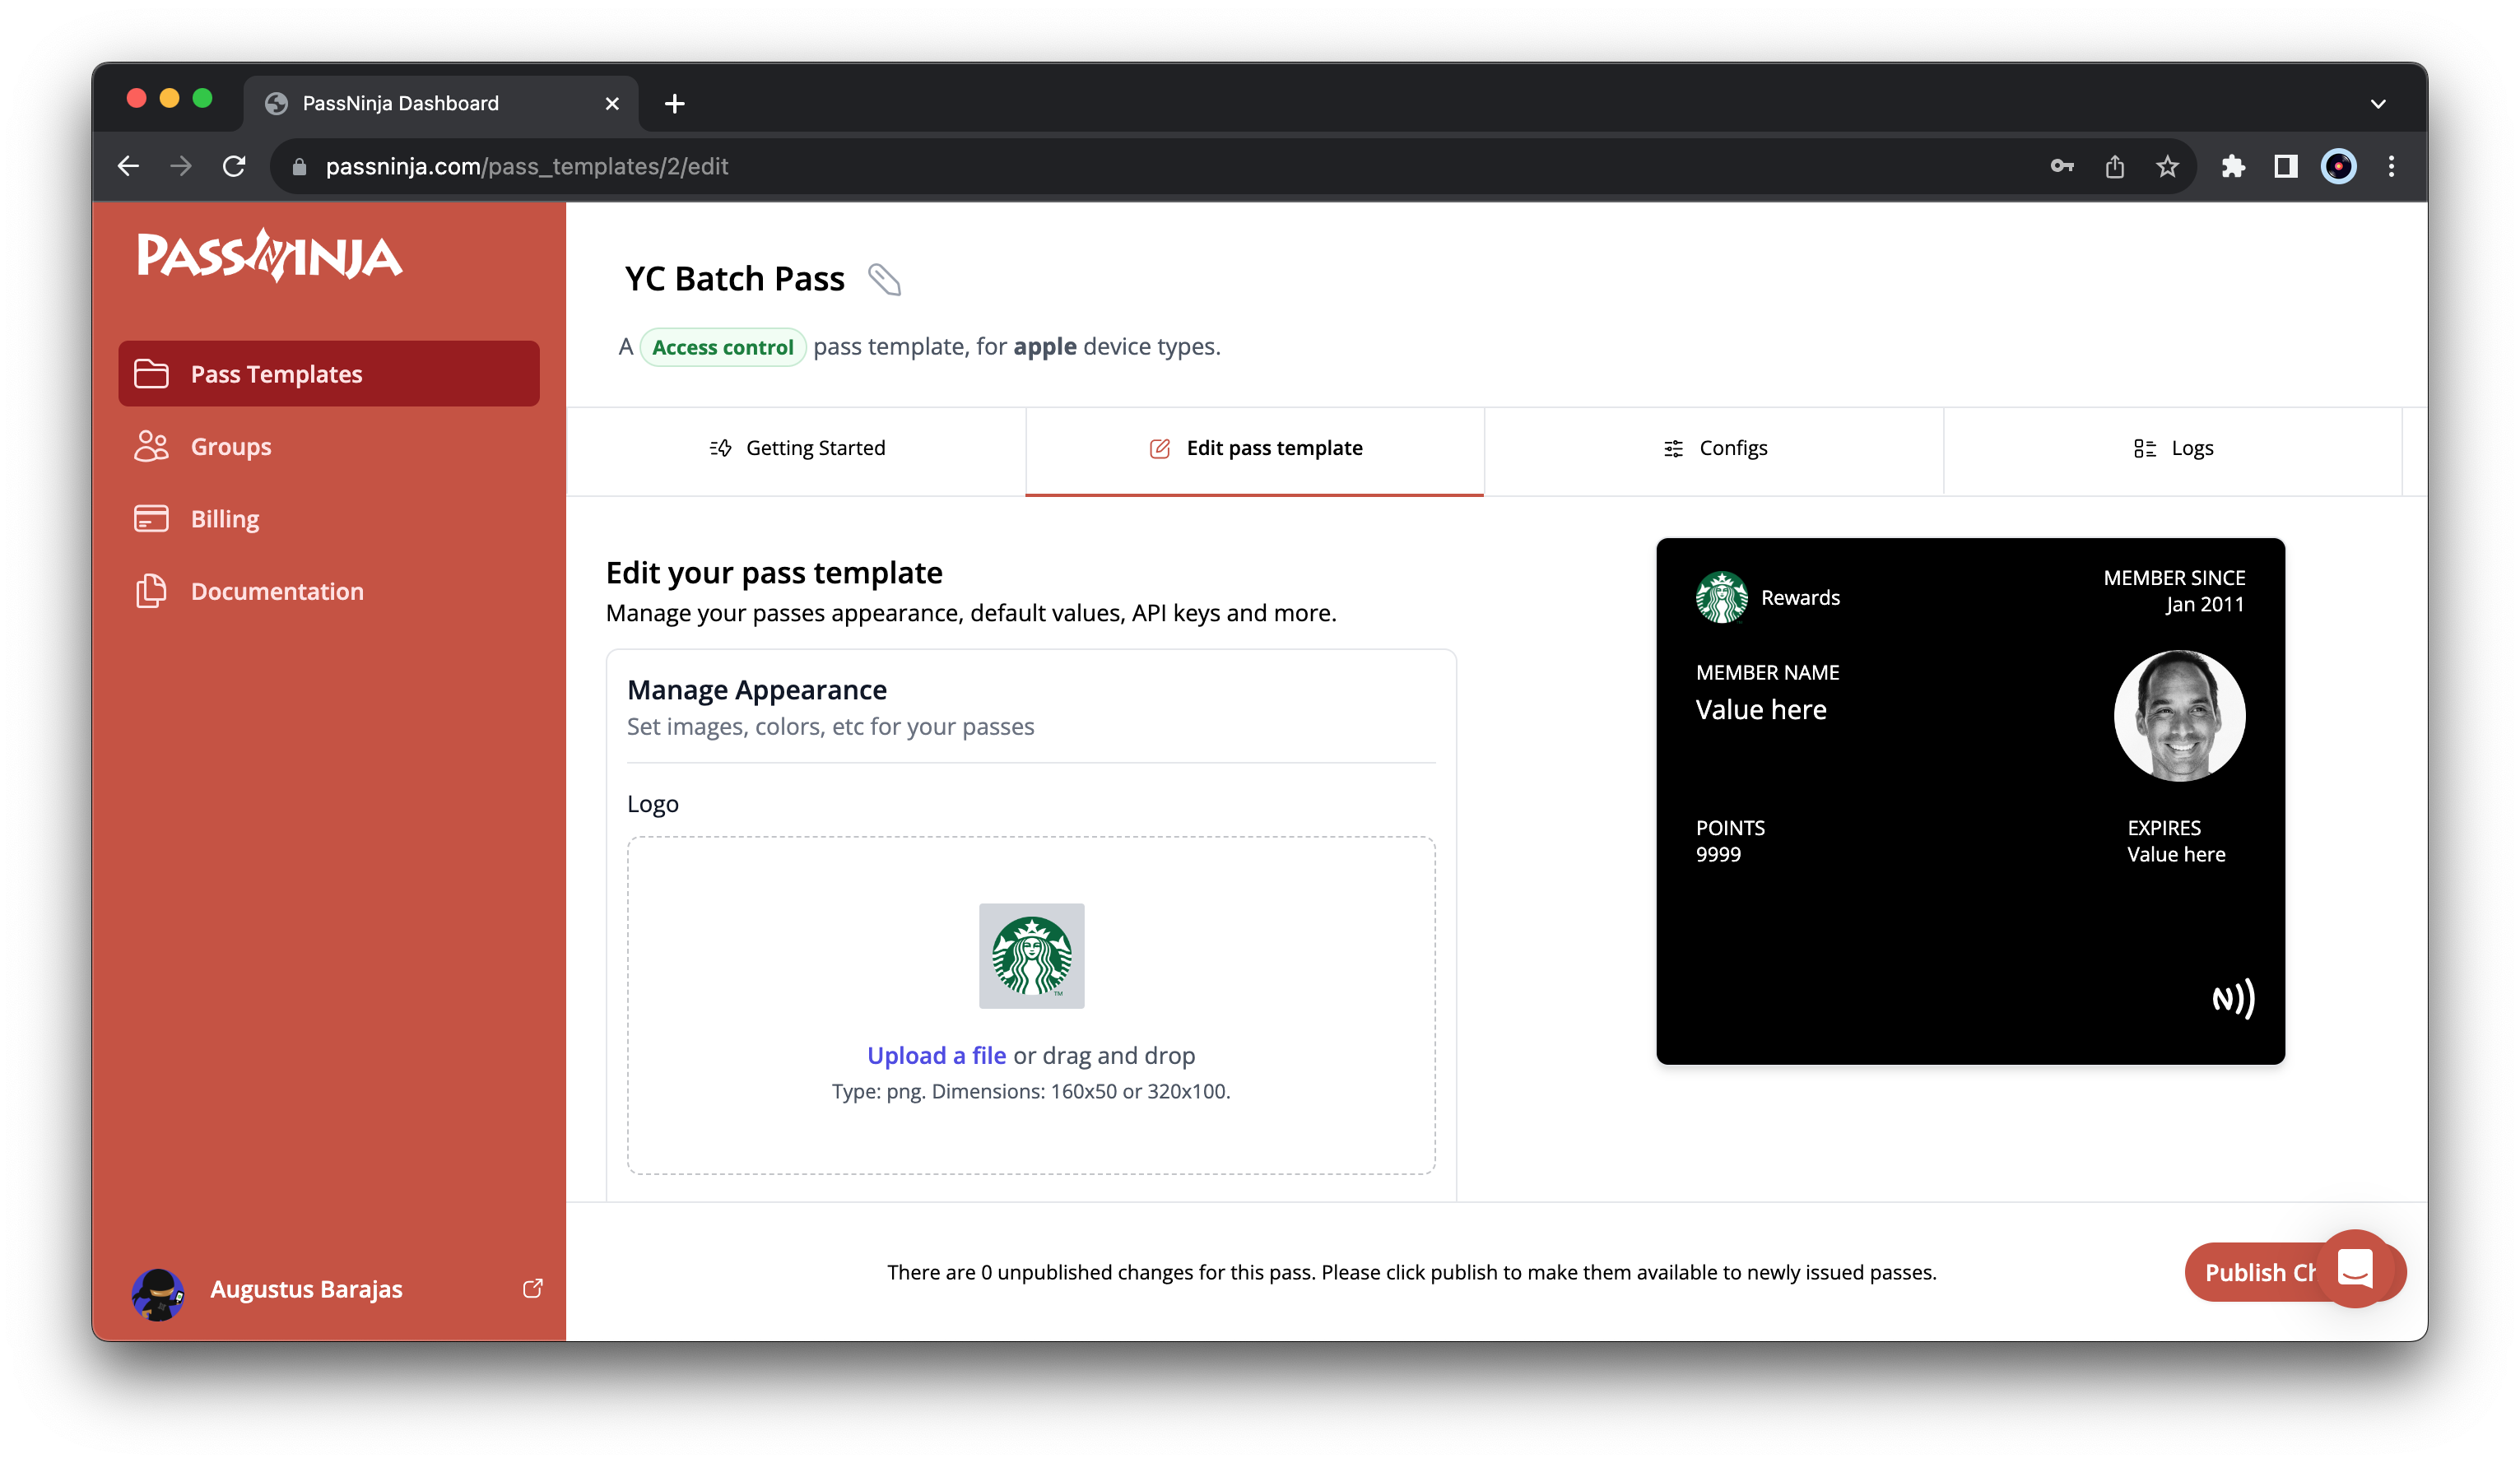
Now we'll go ahead and make an API request to PassNinja to create the pass using Python and we'll set the NFC data to a string (just fyi - it cannot be longer than 64 chars) "user:42069,expires:1704067199" - which for our purposes allows us to know the user id and when their membership expires.
import passninja

account_id = '[your-aid-here]'
api_key = '[your-key-here]'

pass_ninja_client = passninja.PassNinjaClient(
    account_id,
    api_key
)

simple_pass_object = pass_ninja_client.passes.create(
    'ptk_0x2', # passType
    {
        "nfc-message": "user:42069,expires:1704067199",
        "member-name": "Richard Grundy",
        "relevant-date": "2023-12-01T03:34:38+00:00",
        "expiration-date": "Dec 1 2029",
        "latitude":"33.991975",
        "longitude":"-118.468687",
        "max-distance":"1000"
    }
)

print(simple_pass_object.url)
Now that we've run the above, we got back a pass URL, which we'll download to our phone:

Capturing Pass NFC data
Next we need to write some code to collect the input from the VTAP 100 over the wire and make it available to our iPad application. In order to do this, we'll create a fake input. Put this in the ContentView file that was generated by XCode:
import SwiftUI

protocol InvisibleTextViewDelegate {
    func valueChanged(text: String?)
}

class InvisibleTextView: UIView, UIKeyInput {
    var text: String?
    var delegate: InvisibleTextViewDelegate?

    override var canBecomeFirstResponder: Bool { true }

    // MARK: UIKeyInput
    var keyboardType: UIKeyboardType = .decimalPad

    var hasText: Bool { text != nil }

    func insertText(_ text: String) {
        self.text = (self.text ?? "") + text
        setNeedsDisplay()
        delegate?.valueChanged(text: self.text)
    }

    func deleteBackward() {
        if var text = text {
            _ = text.popLast()
            self.text = text
        }
        setNeedsDisplay()
        delegate?.valueChanged(text: self.text)
    }
}

struct InvisibleTextViewWrapper: UIViewRepresentable {
    typealias UIViewType = InvisibleTextView
    @Binding var text: String?
    @Binding var isFirstResponder: Bool

    class Coordinator: InvisibleTextViewDelegate {
        var parent: InvisibleTextViewWrapper

        init(_ parent: InvisibleTextViewWrapper) {
            self.parent = parent
        }

        func valueChanged(text: String?) {
            if let parts = text?.split(separator: ",").map({ String($0) }) {
                let userString = parts.first
                let userData = userString?.split(separator: ":").map({ String($0) })
                parent.text = userData?.last!
            }
        }
    }

    func makeCoordinator() -> Coordinator {
        Coordinator(self)
    }

    func makeUIView(context: Context) -> InvisibleTextView {
        let view = InvisibleTextView()
        view.delegate = context.coordinator
        return view
    }

    func updateUIView(_ uiView: InvisibleTextView, context: Context) {
        if isFirstResponder {
            uiView.becomeFirstResponder()
        } else {
            uiView.resignFirstResponder()
        }
    }


}

struct EditableText: ViewModifier {
    @Binding var text: String?
    @State var editing: Bool = false

    func body(content: Content) -> some View {
        content
            .background(InvisibleTextViewWrapper(text: $text, isFirstResponder: $editing))
            .onTapGesture {
                editing.toggle()
            }
            .background(editing ? Color.gray : Color.clear)
    }
}

extension View {
    func editableText(_ text: Binding) -> some View {
        modifier(EditableText(text: text))
    }
}

struct ContentView: View {
    @State private var value: String? = nil

    var body: some View {
        HStack {
            if let value = value {
                Text(value)
            } else {
                Text("Tap to start scanning mode...")
            }
        }
        .editableText($value)
    }
}

#Preview {
    ContentView()
}
At a very high level, what this code is doing is creating an invisible text input that captures the incoming emulated "keystrokes" from our connected VTAP reader and pipes them into our UI, without popping up the normal iOS keyboard.
Now go ahead and run your app, make sure your VTAP is connected and you should see something like this when your pass is scanned:
Conclusion
We covered a whole lot in this tutorial. We've shown you one way you can use your VTAP 100 to build an NFC powered experience integrated with an iPad app using SwiftUI. We hope you found this tutorial useful!
If you have any feedback on this article, let us know!
More articles focused on Nfc Software Sdks
If you have an ACS WalletMate, you may be wondering how to use it to read Apple passes. In this a...
How To Login To Windows With Your Phones NfcThere's times when you're forced to enter a long password so often that it's super inconvenient. ...
How To Use Pyscard To Read Nfc Tag UidIf you have NFC tags in your possession, you may want to read the data on the tag. One of the eas...
How To Login To Macosx With Your Phones NfcThere's times when you're forced to enter a long password so often that it's super inconvenient. ...