How to configure a Famoco (FX207) Tap&Go

Updated March 16, 2026
TL;DR: From SDK to working App
- 1. Gradle wrapper → 8.13
- 2. AGP → 8.11.2 (project
build.gradle) - 3. AGP 8 compatibility in app module
- Add
namespace - Turn on
buildConfig - Set
compileOptionsto Java 11
- Add
- 4. Keep
RIDs final for legacyswitchcode android.nonFinalResIds=falseingradle.properties- 5. SMS or Email it so users can download their pass.
</li>
Overview
This guide shows exactly how to take Famoco’s VAS sample, make it build cleanly on current Android Studio, and extend it so an FX207 can scan Apple Wallet (VAS) and Google Wallet (SmartTap) passes with clear LED feedback. You will upgrade Gradle and AGP, adjust the Android module for modern toolchains, enter your VAS credentials, add scan controls and LED behavior, and validate end-to-end reads on device.

What you’ll need:
- Android Studio Narwhal (or newer)
- Gradle 8.13 (via wrapper below)
- Android Gradle Plugin (AGP) 8.11.2
- JDK 17 installed (Gradle runtime); module compiles with Java 11
- Famoco FX207 with USB debugging enabled
- The Famoco SDK two project folders (unzipped):
- FamocoVASSampleApp-2.3.1-sources.zip →
/FamocoVASSampleApp-2.3.1-sources - Tap&Go-leds-app →
/Tap&Go-leds-app
- FamocoVASSampleApp-2.3.1-sources.zip →
No Gradle or Java programming required; use your favorite AI agent to prompt your way through this tutorial. Here's a transcript of 13 prompts (prefixed by
>>) for how we did it with Claude Code.
How to build the Famoco sample on modern Android Studio
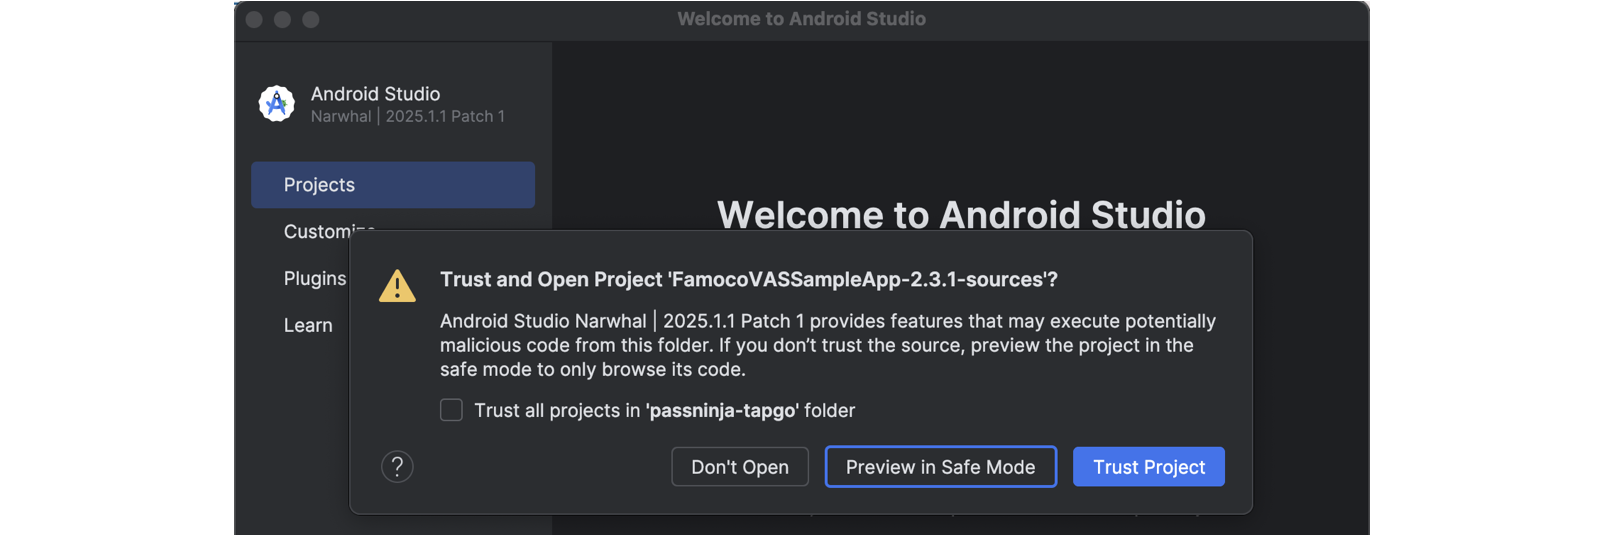
Ensure you have Android Studio Narwhal or newer installed, JDK 17 installed on your machine, and a Famoco FX207 with USB debugging enabled. You will compile the app for Java 11, which pairs cleanly with a Gradle runtime on JDK 17 for AGP 8. Start by opening the FamocoVASSampleApp-2.3.1-sources folder in Android Studio.
Android Studio downloads are available at https://developer.android.com/studio, and general Gradle build guidance is at https://developer.android.com/build.
Once you open the project in Android Studio, you'll encounter Gradle errors. You'll need to upgrade the Gradle wrapper to 8.13. This aligns the project with AGP 8.x and avoids legacy model tasks that break on newer IDE integrations.
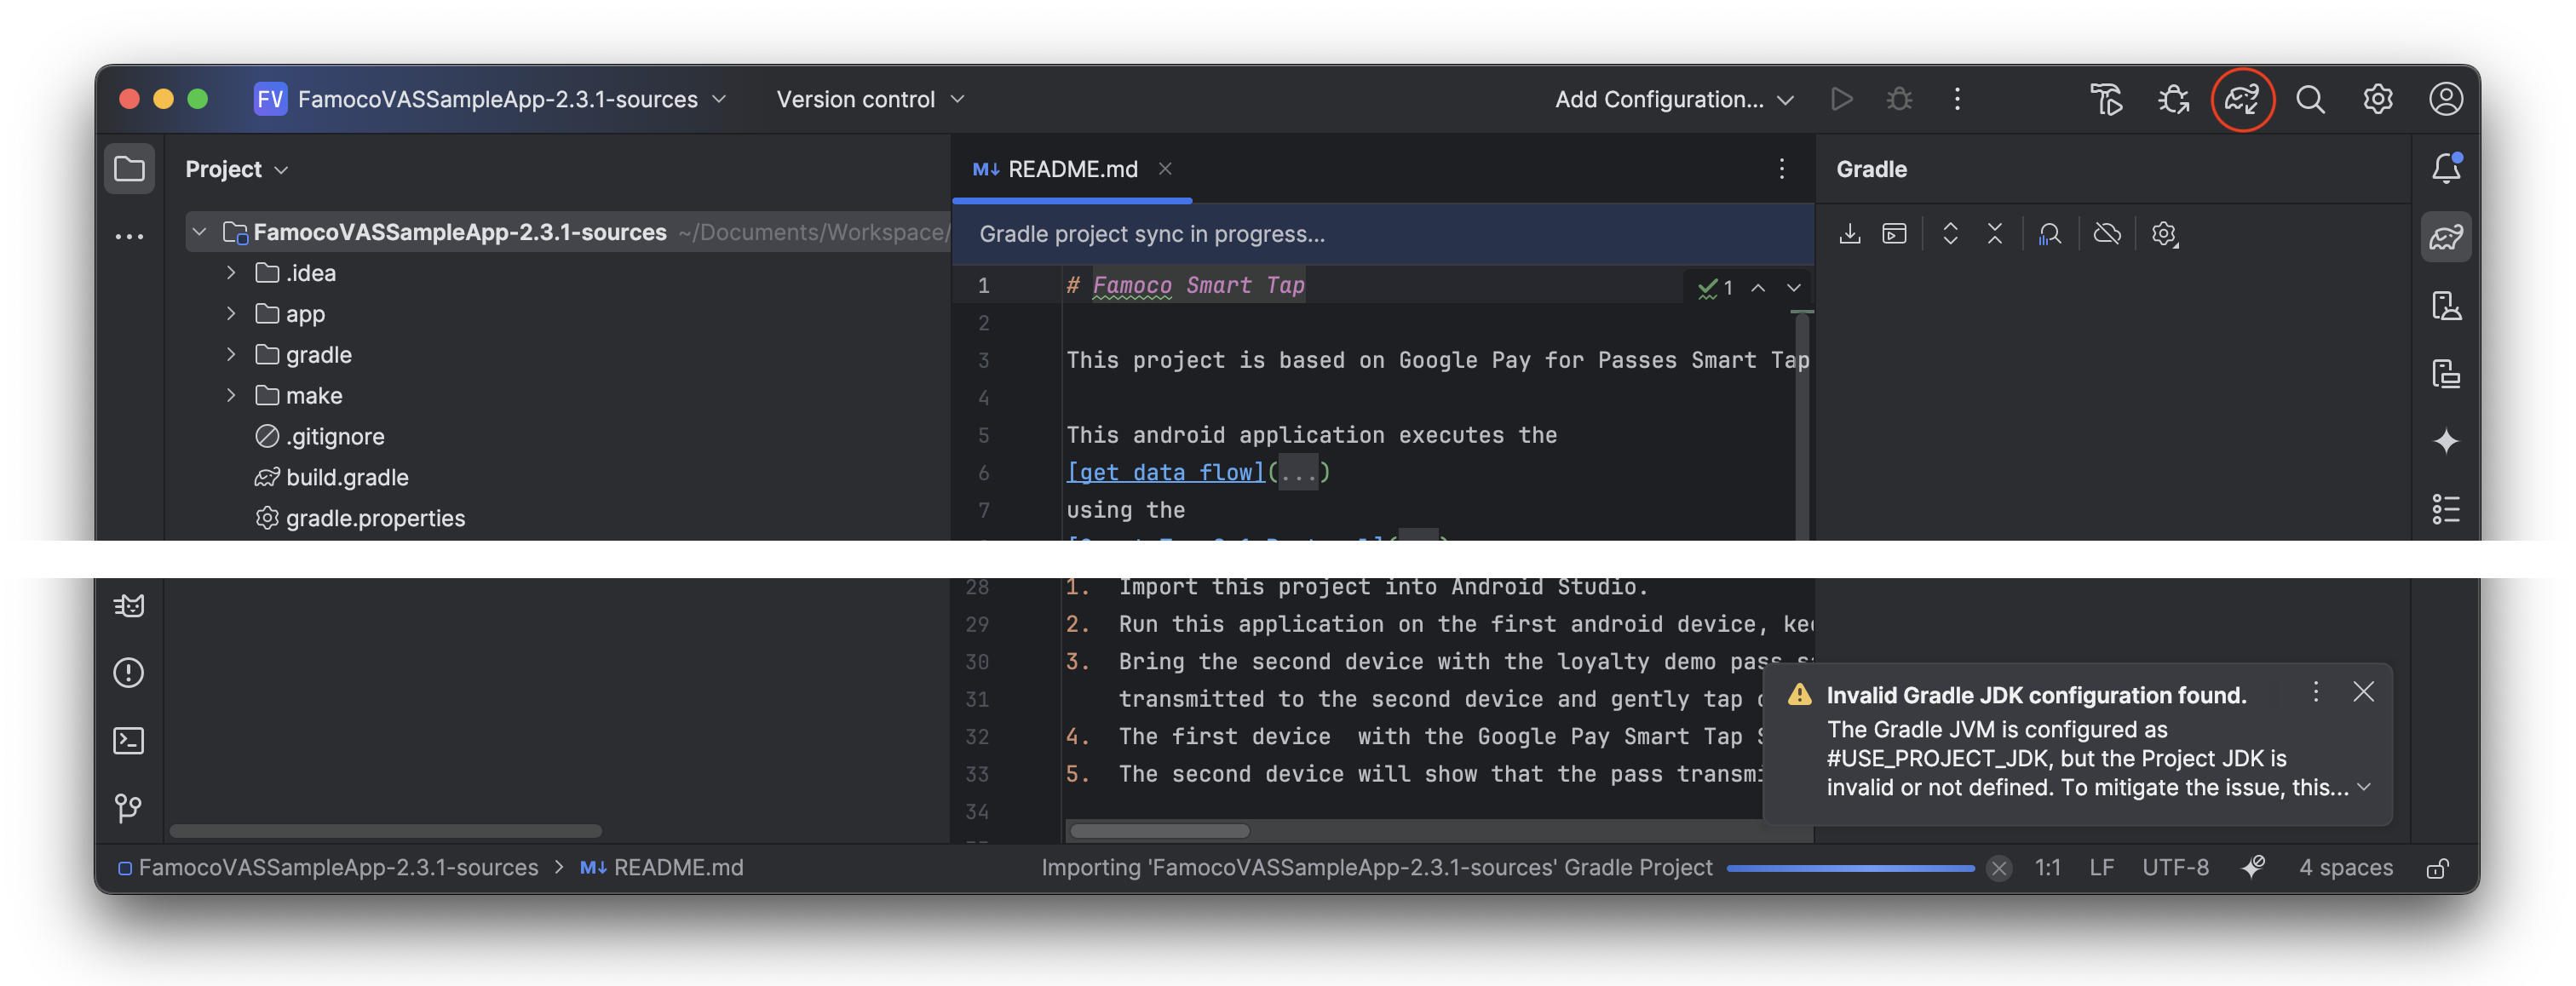
You can either edit the wrapper properties file directly or run the wrapper task from the terminal. After every update, however, you'll want to click the Gradle sync button circled in red in the image above.
# gradle/wrapper/gradle-wrapper.properties
distributionUrl=https\://services.gradle.org/distributions/gradle-8.13-bin.zip
networkTimeout=10000
validateDistributionUrl=true
Next, bump the Android Gradle Plugin to 8.11.2 in the top-level build.gradle file.
// build.gradle (project)
classpath 'com.android.tools.build:gradle:8.11.2'
In the app module build.gradle, add a namespace, enable BuildConfig, and set sourceCompatibility and targetCompatibility to Java 11. This satisfies AGP 8 requirements and prevents BuildConfig symbol errors and toolchain warnings.
// app/build.gradle
android {
   namespace 'com.famoco.vassampleapp'
   compileSdkVersion 31
   buildToolsVersion "30.0.3" // optional to remove on AGP 8
   buildFeatures { buildConfig = true }
   compileOptions {
     sourceCompatibility JavaVersion.VERSION_11
     targetCompatibility JavaVersion.VERSION_11
   }
}
Reference AGP release notes at https://developer.android.com/build/releases/gradle-plugin for details.
Why do I need to keep R ids final for Famoco sample
The sample uses switch statements over menu and view IDs, which rely on R constants being final. AGP 8 defaults to non-final R values and that breaks compilation with constant expression required errors. You can solve this in two ways: keep R final with a gradle.properties flag, or refactor code to if statements that compare IDs at runtime.
# gradle.properties
 android.useAndroidX=true
 android.enableJetifier=true
+android.nonFinalResIds=false
For fastest adoption, keep R final while you verify functionality. Later, you can refactor the switch cases to remove this flag and follow modern defaults if you want. Either way, you should now have a freshly built Famoco VAS Sample apk to install on your FX207 for testing.

How do I configure Apple VAS for PassNinja
Open the AppleTestProfiles.java file and edit the settings area for Apple keys. Add your Pass Type ID (eg pass.com.your.passtype.id) and import your terminal private key (eg your-apple-key.pem) into the project's /assets folder. You can get these from your PassNinja dashboard under your Apple pass template's Configs tab. If you don't have a pass template, you can create one from your PassNinja account or contact support on our chat widget for help.
public class AppleTestProfiles {
    public static final String PASSNINJA_PROFILE = "PassNinja";
    public static final String PASSNINJA_PASSTYPE_ID = "pass.com.your.passtype.id";
    public static final String CUSTOM_PROFILE = "Custom";

    protected static final Map<String, TestProfile> TEST_PROFILES = new HashMap<>();

    static {
        TEST_PROFILES.put(PASSNINJA_PROFILE, new TestProfile(
                PASSNINJA_PASSTYPE_ID, "your-apple-key.pem"));
        TEST_PROFILES.put(CUSTOM_PROFILE, new TestProfile(null, null));
    }

    public static final String DEFAULT_TEST_PROFILE =
            AppleTestProfiles.PASSNINJA_PROFILE;
How do I configure Google SmartTap for PassNinja
Open the GoogleTestProfile.java file and edit the parameters for Google SmartTap. You'll need to enter your PassNinja collector ID formatted in 4 hex bytes (eg 12345678 => 0x00 0xBC 0x61 0x4E) and link your private key from the /assets folder (eg your-google-key.pem).
public class GoogleTestProfiles {
    public static final String PASSNINJA_PROFILE = "PassNinja";
    private static final byte[] PASSNINJA_COLLECTOR_ID =
            new byte[]{(byte) 0x00, (byte) 0xBC, (byte) 0x61, (byte) 0x4E};
    public static final String CUSTOM_PROFILE = "Custom";

    protected static final Map<String, TestProfile> TEST_PROFILES = new HashMap<>();

    static {
        TEST_PROFILES.put(PASSNINJA_PROFILE, new TestProfile(
                PASSNINJA_COLLECTOR_ID, "your-google-key.pem"));
        TEST_PROFILES.put(CUSTOM_PROFILE, new TestProfile(null, null));
    }

    public static final String DEFAULT_TEST_PROFILE =
            GoogleTestProfiles.PASSNINJA_PROFILE;
For Google SmartTap you'll also need the key version (eg YOUR-KEY-VERSION) set in the /res/values/arrays.xml file. You can get all these from your PassNinja dashboard under your Google pass template's Configs tab. If you need help, contact support on our chat widget.
<?xml version="1.0" encoding="utf-8"?>
<resources>
    <string-array name="empty_array" />
    <string-array name="key_versions" >
        <item>1</item>
        <item>10</item>
        <item>YOUR-KEY-VERSION</item>
    </string-array>
How do I build install and validate end to end
From the terminal, run a clean assemble to ensure no stale artifacts remain, then install to the FX207 over adb. Confirm that Developer Options and USB debugging are enabled on the device and that it appears in the adb devices list before installing the APK. If you see build tool warnings, it is safe to remove an explicit buildToolsVersion line because AGP 8 will use a compatible build tools version automatically.
./gradlew clean assembleDebug
adb install -r app/build/outputs/apk/debug/FamocoVASSampleApp-2.3.1-debug.apk
adb logcat | grep -i vas
With the app running, set your Apple and Google profiles, toggle scanning, and present a PassNinja pass on each platform to the FX207 antenna. The app should auto-select your pass and show the decrypted nfc.message payload on screen. If you are implementing a server flow, capture the references needed by your backend and correlate them to the pass serial number managed by PassNinja.
General adb usage is documented at https://developer.android.com/tools/adb.
How do I add scan toggling and LED feedback on the FX207
For hands-on scanning, bind a UI button and a hardware key to toggle scan start and stop. This improves ergonomics at the point of interaction where touching the screen is inconvenient. Maintain a simple state machine that enables or cancels the NFC polling loop on each toggle.
For user feedback, request permission to control device lights and drive the NFC ring LEDs during scanning. Turn the ring cyan while scanning is active, then pulse green on a match condition and red otherwise. This provides immediate operator feedback without reading on-screen logs.
<!-- AndroidManifest.xml -->
<uses-permission android:name="android.permission.CONTROL_DEVICE_LIGHTS"/>
Android’s lights API is covered under system lights and device control; see general permissions guidance at https://developer.android.com/guide/topics/manifest/manifest-intro.
// MainActivity.java (simplified)
public class MainActivity extends Activity {
  private LightsManager lightsManager;
  private boolean scanning;

  @Override protected void onResume() {
    super.onResume();
    lightsManager = (LightsManager) getSystemService(Context.LIGHTS_SERVICE);
  }

  @Override protected void onPause() {
    super.onPause();
    lightsManager = null;
  }

  private void toggleScan() {
    scanning = !scanning;
    if (scanning) {
      setNfcRingCyan(true);
      startPolling();
    } else {
      setNfcRingCyan(false);
      stopPolling();
    }
  }

  private void onReadSuccess(byte[] vasOrSmartTap) {
    boolean isPassOfInterest = containsMatchValue(vasOrSmartTap);
    pulseNfcRing(isPassOfInterest ? Color.GREEN : Color.RED, 3000);
  }
}
How do I troubleshoot common build and runtime issues
If you see BuildConfig symbol errors, ensure buildFeatures.buildConfig is enabled in the app module. This forces generation of the BuildConfig class which AGP 8 may otherwise skip if unused by the manifest or code. If you encounter constant expression required in switch cases on R IDs, confirm android.nonFinalResIds=false is set or refactor the switch statements to if comparisons.
For Gradle model or task errors inside Android Studio, double-check that the wrapper is on 8.13 and the project classpath uses AGP 8.11.2. Mismatched versions can produce inscrutable task wiring exceptions. At runtime, if LEDs do not respond, verify the CONTROL_DEVICE_LIGHTS permission, that LightsManager returns a non-null NFC light, and that your device build supports NFC ring control.
For deeper Android build help, consult https://developer.android.com/studio/build and for Wallet protocol details see Apple’s VAS docs and Google’s SmartTap docs.
Making is easy with PassNinja
PassNinja issues and manages Apple and Google Wallet passes that work with retail-grade NFC readers like the Famoco FX207. Once your reader is scanning reliably, call PassNinja’s APIs to validate passes, update pass content, and trigger real-time notifications during check-in and redemption. Explore our developer guides and reach out to support via the chat widget for integration tips and production readiness checks.
PassNinja also works with popular hardware families beyond Famoco and can help you select readers, antenna configurations, and on-premise or cloud architectures that match your deployment size and latency requirements. If you need Apple NFC entitlements or Google SmartTap guidance, we can assist with credential onboarding and reader provisioning workflows.
Conclusion
You now have a modernized Famoco VAS sample that builds on current Android Studio, reads PassNinja Apple VAS and Google SmartTap passes on the FX207, and provides clear LED feedback during scans. Keep R IDs final while you validate, then refactor switches if desired. From here, move passes into production, connect scan results to your PassNinja backend, and expand the UX to meet your operational needs.
For next steps, consider wrapping this reader into your kiosk or POS app, adding offline telemetry, and implementing server-side validation and pass updates using PassNinja’s APIs.
More articles focused on Hardware
This guide will show you how to replace your car keys with an NFC-enabled pass in your Apple or G...
How to configure a Dot Origin VTAP100 NFC readerThis guide will cover the process of setting up a VAS reader to detect and verify Apple and Googl...
How to configure a Reyax RYRR30D NFC readerThis guide provides detailed instructions on setting up the Reyax RYRR30D USB-C NFC reader to int...
How to configure a SocketMobile S550 Bluetooth NFC readerThis guide will cover the process of setting up a VAS compatible bluetooth enabled NFC reader to ...
How to Control Any Device with a Relay and Raspberry PiThis guide covers how to control electrical equipment like an appliance or battery-powered device...
How to Control VTAP from Background (MacOSX)The VTAP series of NFC readers from DotOrigin are popular because of their ease of use and broad ...
How to Control VTAP from Background (Windows)The VTAP series of NFC readers from DotOrigin are popular because of their ease of use and broad ...